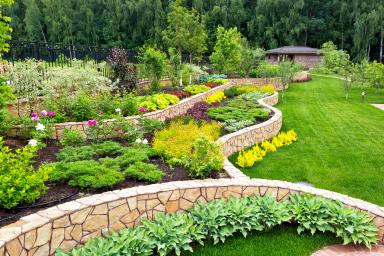
Getting Started With Composting
In nature, compost happens naturally as microbes break layers of plant material, animal droppings, insect carcasses, and other detritus down over time. You can make compost in your own backyard out of kitchen scraps, grass clippings, hedge trimmings, and even cardboard. Is there just one “right” way to make compost? In a word, no. There are actually numerous ways to approach composting. Open-air heaps, sealed containers, and even worms factor into some of the most popular compost-making strategies. I use two main methods at our house: a large, open-air compost heap and a recycled plastic compost tumbler — more on those later. Let’s begin exploring compost with the “big why” — why make your own compost when you can go and get ready-made compost in bags, or in bulk, so easily?
Why Compost?
For a start, composting reduces the amount of landfill waste you might otherwise create. Kitchen scraps and cardboard food containers don’t hit the trash can, for instance: instead, they go on the compost heap. Composting is eco-friendly, too. Got some brush to burn? Put it on the compost heap. Been raking leaves? Put them on the heap, rather than in a garden waste bag. The more you use your homemade compost to nourish your borders, the less artificial fertilizer you’ll have to apply. Strong, well-fed plants are far less vulnerable to insect damage, so you might end up ditching pesticides, too. The less waste we all burn or bury in landfills, the less CO2 we release into the atmosphere. If all of us made and used homemade compost, the demand for plastic packaging and transport-related CO2 emissions associated with commercially made compost would go down.
Let’s Talk About Peat
Peat is a major ingredient in many commercially made brands of compost. It’s great at retaining water, it works beautifully as a seed-starting medium because it’s so finely textured, and it’s free draining. Peat is also one of the most problematic commercial compost ingredients because harvesting peat means draining and destroying peat bogs — at least to some extent. Undisturbed peat bogs absorb large amounts of CO2 from the atmosphere, but when peat bogs are disturbed, they release large amounts of CO2 back into the atmosphere. Most of the peat used by North American compost manufacturers comes from Canada, and Canadian Wildlife Federation researchers agree that Canadian wetlands are under significant pressure. Currently, the global horticultural industry doesn’t have a like-for-like replacement for peat. Some companies manufacture peat-free composts using coir or bark, but they tend to cost more than peat-based mediums. This is why creating your own compost heap in your own backyard makes for an easier solution. You’ll save money and help conserve wetlands at the same time — a definite win-win for nature.
The Five-Factors Compost Mix
Also called “controlled decomposition,” composting is like a gardening version of slow cooking. You need a good mix of ingredients — five, specifically — and time. How much time? That depends on the composting technique you use.
#1: Nutrients
In simple terms, nutrients are what you put on your compost heap — vegetable peelings, wood chips, chicken manure or the contents of your lawn grass collection box, for example. To encourage optimal decomposition, you need to balance carbon and nitrogen in your compost heap — and you do this with a good mix of “green” and “brown” nutrients:
Green nutrients are soft, pliable, and full of nitrogen. They include:
Leaves
Lawn clippings
Kitchen Scraps
Manure
Brown nutrients are tough, woody, and rich in carbon. Some common ones include:
Hedge clippings
Wood chips
Paper and cardboard
Straw
Lots of things break down in a compost heap — even acidic citrus peel and toxic plants like yew, hydrangea, and rhubarb leaves are compostable. There are certain nutrients you shouldn’t put on your heap, though:
Glossy or film-coated papers. Cardboard and paper is a great compost addition, but only if it’s plastic-free.
Perennial weeds and seed heads. These won’t all break down: if you put them on your heap, you’ll probably be inundated with weed seedlings when you use your compost later on.
Diseased plant materials. Pathogens often survive the composting process, so you might end up giving plants fungal, bacterial, and viral infections if you include diseased organic material in your compost mix.
Plants treated with herbicides. If you use weedkiller on your lawn or powerful insecticides on your borders, don’t put plants from these areas in your compost. Herbicides and insecticides stay active for a long time, so in addition to killing the microbes in your compost, you might also kill the plants you mulch with your compost.
Cat and dog waste. Pathogens in cat and dog waste can jump species. If you apply homemade compost containing degraded cat and dog feces to food crops, you could get sick.
Cooked animal products. Meat, fish, eggs, and other animal proteins attract rats — and they’re not critters you want anywhere near your compost heap.
#2: Oxygen
Oxygen is an important part of aerobic decomposition, an important element in a compost heap. Wood chips, shredded newspaper, brush, and straw all help encourage airflow. Other aeration methods include turning your compost heap with a pitchfork from time to time or inserting perforated PVC pipes into your heap.
#3: Living Organisms
Living organisms like bacteria, actinomycetes, fungi, protozoa, and various worm and insect species help break nutrients down. Also called “microfauna” and “macrofauna,” these tiny little animals are an essential part of the composting process. You’ll probably notice larger decomposers like pill bugs, millipedes, mites, slugs, and snails working on your compost heap. Some composting methods — vermicomposting, for example — depend heavily on worms.
#4: Temperature
When microorganisms like bacteria and fungi break down the nutrients in your compost heap, they create heat, which promotes more rapid decomposition. Heat can also destroy pathogens and weed seeds buried deep in your compost heap. Some compost heaps reach 140 degrees Fahrenheit or more — especially in summer — and you can help your pile “cook” by layering green and brown materials on top of each other.
#5: Moisture
Fresh green nutrients like grass clippings and kitchen scraps add moisture, and so does precipitation, which are important aspects in composting. Dry compost heaps don’t support as many microbes as wetter heaps, so if you don’t expect rain for a while, spray a little water on your compost heap whenever you add dried-out materials like crunchy leaves or brush.
A Note About Particle Size
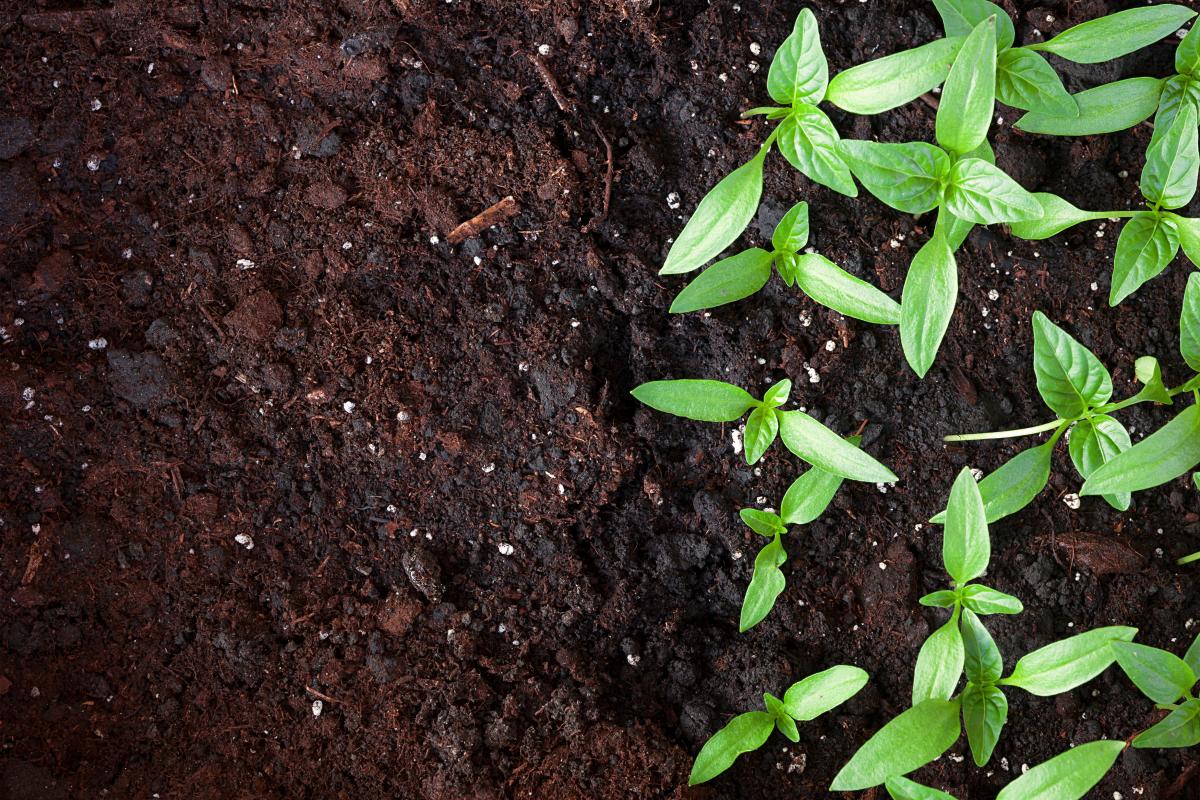
The smaller the particles you put into your compost heap, the larger the surface area of your particulate matter. The larger the surface area, the easier it is for microbes and other living organisms to feed on the nutrients in your compost heap. Smaller particles also have an insulating quality, so they help to maintain an optimum temperature inside your heap. You can make the things you put on your compost heap easier to digest by cutting them up into tiny pieces, shredding them, or running them through an electric mulcher. If you have a lot of branches and brush to compost, turn it into woodchips before you add it to the mix. Don’t completely pulverize your nutrients, though — air circulation is important in a compost heap.
Four Easy Composting Methods
For the sake of relevancy, we’ll sidestep large-scale municipal composting and talk about four different types:
Vermicomposting: Also known as worm bin composting, this compost-making technique involves — you guessed it — worms. To get a vermicomposting venture going, you’ll need tiger worms and a plastic or wooden wormery.
Open-Air Composting: You’ll sometimes hear open-air composting called “windrow” composting. In short, this is the traditional heap method we touched on earlier. Layers of green and brown material sit on top of each other; microbes, arthropods, and earthworms do most of the heavy work.
Pit Composting: Pit composting works a lot like large-volume trench composting, only on a much smaller scale. You dig a pit and fill it with nutrients; microorganisms and microorganisms break green and brown ingredients down into compost.
Tumbler Composting: If you’re short on space, consider tumbler or in-vessel composting, where you feed nutrients into a plastic, fiberglass, or metal drum, which you turn to mix and aerate the ingredients. You’ll get compost in a matter of weeks or months — and you won’t need to worry about vermin.
Vermicomposting
Vermicomposting, otherwise known as worm bin composting, is a composting method based on worms. You can’t use any old worms, though — nightcrawlers, for instance, just don’t cut it. Instead, you need tiger worms, or redworms: species like eisenia foetida, eisenia andreii, lumbricus rubellus or dendrabaena veneta, for instance. If Latin names make your head spin, don’t worry — you can buy a good vermicomposting worm mix online. How does vermicomposting work? In short, your kitchen scraps pass through the worms in your vermicomposting setup and exit as “casts.” These casts build up and eventually, you get a lot of highly nutritious, very fine compost. You also get a liquid product, called “worm tea,” which you can use to fertilize your plants. To start vermicomposting, you’ll need:
A wormery. Most wormeries are made of plastic, but you can find wormeries made of wood, too. If you enjoy DIY, you can make your own wormery out of a couple of plastic tubs and a piece of plastic mesh.
Worms. You can choose a single species or go for a mixed-species collection of worms. You’ll need about 1,000 worms — roughly a pound — per square foot of wormery.
Most vermicomposting aficionados set their wormeries up in garages or sheds. Why? Because they can get a little smelly. If you have a small wormery and want to put it in your utility room or back porch, that’s okay — but you might occasionally see fruit flies circling. Wormery ready? Here’s what to do next:
Gather nutrients. Worms need to eat, and they love vegetable peelings, coffee grounds, fruit cores, tea bags, banana skins, and cereal. Don’t feed your worms animal byproducts or large, woody items.
Shred paper. Like other composting techniques, vermicomposting depends on a good brown-to-green ingredient ratio. In a worm bin, brown ingredients equal shredded paper.
Feed your worms. Once a week, open up your wormery, create a small hole with a trowel, scatter in a little paper, and pour those lovely nutrients into the hollow. Use your trowel to cover the nutrients with composted material and more paper.
Wait. Vermicomposting takes time. After a few months, empty the worm tea out of the lower half of your wormery. When your wormery gets full, it’s compost harvest time.
Rinse and repeat. Before you extract the bulk of your compost, gently remove the top three inches of material and set it aside. That’s where your worms live — and you’ll need them to restart the vermicomposting process.
Open-Air Composting
Open-air composting is what most people think of when they envision turning grass clippings and potato peelings into rich, brown humus. There’s also an art to it. You need a good, stable mixture of brown and green nutrients to create optimal composting conditions: in other words, you can’t just throw random organic matter onto a pile with reckless abandon. Composting pros build open-air heaps in a considered way. Grass clippings receive a top dressing of wood chips or mulched hedge trimmings. Brown nutrients — woody, dry materials — are layered with kitchen scraps or chicken manure. Whatever you do, try to sandwich dense, wet nutrients between layers of open, loose materials: air circulation is important. To set up an open-air compost heap, you’ll need:
A space. If you have a large backyard and can dedicate a portion of it to compost, by all means, create a sizable compost heap. If your yard is small, your compost heap will work just as well — but on a mini scale.
A cover. When winter temperatures get below freezing, covers help compost heaps retain heat. In the summer, covers stop heaps drying out. Your compost cover can be as low-tech as a tarp or a piece of old carpet.
Plastic pipes. Inserting perforated plastic pipes into your compost heap can help promote air circulation. The more you aerate your heap, the less you’ll have to turn it.
A pitchfork. You’ll need to turn your heap from time to time to give the macrobes and microbes in your heap something new to chew on.
Got a composting spot in mind? In that case:
Layer nutrients. It’s worth mentioning again: layer your nutrients mindfully. Layer wet, dense ingredients like kitchen scraps, lawn clippings, and manure over dry, woody ingredients like wood chips, hedge trimmings, and cardboard.
Wet your heap. If you add a lot of very dry material, add water with a garden hose to keep your compost heap wet. Microbes need moisture to digest the nutrients you put in your pile.
Turn your pile. Well-digested compost is well-turned compost. This is the most hands-on part of an open-air heap, but it’s important. Aim to turn your heap about once every four to six months.
Cover your heap. Place a tarp, a piece of sheet plastic, or an old section of carpet over your heap to keep moisture in and vermin out.
Wait. Open-air piles generate great compost in 6 to 12 months, depending on the weather and your location. Compost heaps in temperate zones and southern states generate usable loam more quickly than those in northern climes.
Pit Composting
Also called trench composting, or composting in situ, pit composting works like open-air composting but in a hole in the ground. Instead of building your pile above ground, you dig a hole or a trench, bury nutrient layers and let bacteria, fungi, worms and other creatures go to work. Pit composting is pretty clever: if you dig your pit strategically, you can plant straight into it later on. Permaculture fans use organized trench composting systems to recycle nutrients and create crop-specific beds. Some even cover their trenches, turning them into paths for two or three years to optimize the soil underneath. You don’t have to get as involved as that if you don’t want to — you can dig your compost out with a shovel and put it wherever you like. To get started with pit composting, you’ll need:
A space. Do you want to create a ready-made bed for planting or would you prefer to extract your compost? Pick your pit location accordingly.
A shovel. You’ll need a good, sharp shovel to dig your pit.
All set with your in-situ space? Great — here’s how to get started:
Dig your trench or hole. Your pit can be as wide or as narrow as you like. Some gardeners use post hole diggers to create micro pits, which they later use for tomato plants. Others dig long trenches for squash, or wide, round pits.
Layer nutrients. Sandwich green nutrients between brown nutrients to improve air circulation in your pit. To speed up decomposition, sprinkle a little bone or blood meal over the top of your nutrient stack.
Top with soil. When your pit is full, top it with regular garden soil.
Water your compost pit. Use a hose or a large watering can to water your pit well. Worms and microbes are much more likely to make themselves at home in a moist compost pit.
Wait. The nutrients in your compost pit will take at least six weeks to break down — so wait at least a couple of months before planting anything in your trench.
Tumbler Composting
Compost tumblers turn food scraps and garden clippings into a useful soil amendment in record time. Also known as in-vessel composting, this is a favorite technique for large-scale composting, too. Enormous IVC systems convert catering industry waste, chipped brush, and other organic materials into usable loam very quickly. Huge IVC operations are complicated and involve sensors, filtration, and airflow modification. Backyard compost tumblers are much simpler — but they work just as well. Generally made of plastic, tumblers are long-lasting and easy to use, and they work well in smaller spaces. To begin IVC composting on a small scale, you’ll need:
A compost tumbler. There are lots of different compost tumblers on the market, some made of plastic and some made of fiberglass or metal. Most compost tumblers have a capacity of between 4 and 15 cubic feet.
A wheelbarrow. Unless you buy a compost tumbler on wheels, you’ll need a wheelbarrow to transport your finished compost.
All ready to use your brand new tumbler? If so, composting is as simple as this:
Add nutrients. Put compostable nutrients into your tumbler whenever you have them to hand. Make sure you incorporate a good mix of green and brown ingredients — kitchen scraps, cardboard, grass clippings, leaves, hedge trimmings, and wood chips.
Spin your tumbler. Rotate your tumbler using its built-in handles whenever you add nutrients. This has the same effect as turning an open-air compost heap with a pitchfork.
Wait. In warmer months, you might get compost in as little as three weeks. Over winter, it’ll take a little longer. Check your compost mixture frequently to see how it’s doing, and when you’re satisfied, empty it into your wheelbarrow.
The Last Word on Compost
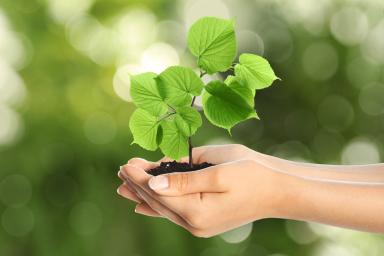
Homemade compost is one of the best soil amendments you can add to your garden. Whenever you mix homemade compost into the earth, you improve moisture retention, you feed beneficial microbes and you infuse vital nutrients into the soil around plants and bushes. Composting at home is eco-friendly, too — plus it’ll save you money. If you’re ready to make your own compost, why not try one of the four techniques above? The first time you lift a shovel full of black, fertile loam out of your heap, I promise you’ll feel such a sense of satisfaction.
Expertise.com StaffAuthor
At Expertise.com, we're passionate about guiding people to find the best in life, whether they're researching how to start a small business, planning a home remodeling project, or discovering a new hobby.
Sources
1. “What are microbes?” Institute for Quality and Efficiency in Health Care via the National Center for Biotechnology Information. https://www.ncbi.nlm.nih.gov/books/NBK279387/
2. “It’s a Jungle Down There – Micro-organisms in the Soil.” The University of Arizona College of Agriculture and Life Sciences. https://cals.arizona.edu/vbarv/rangeprogram/sites/cals.arizona.edu.vbarv.rangeprogram/files/Micro%20and%20Macro%20Organisims%20in%20the%20Soil.pdf
3. “How to Create and Maintain an Indoor Worm Composting Bin.” U.S. Environmental Protection Agency. https://www.epa.gov/recycle/composting-home#worms
4. “Types of Composting and Understanding the Process.” U.S. Environmental Protection Agency. https://www.epa.gov/sustainable-management-food/types-composting-and-understanding-process
5. “Composting At Home.” U.S. Environmental Protection Agency. https://www.epa.gov/recycle/composting-home
6. “Composting at Home - The Green and Brown Alternative.” Cornell Waste Management Institute. https://ecommons.cornell.edu/bitstream/handle/1813/29111/compostingathome.pdf?sequence=2&isAllowed=y
7. “How to Compost - a simpler way to compost in 4 easy steps.” http://www.compost-info-guide.com/how-to-compost.htm
8. “Learn about Compost, Organics Recycling and Compost Production.” U.S. Composting Council. https://www.compostingcouncil.org/page/EducatorResearcher
9. “Compost Tumblers vs Compost Bins: Pros & Cons.” Eartheasy. https://learn.eartheasy.com/articles/compost-tumblers-vs-compost-bins-pros-cons/
10. “How To Compost At Home.” Julia Simon, NPR. https://www.npr.org/2020/04/07/828918397/how-to-compost-at-home
11. “Composting.” https://learn.eartheasy.com/guides/composting/
12. “How peat could protect the planet.” Virginia Gewin, Nature. https://www.nature.com/articles/d41586-020-00355-3
13. “Making compost.” The Royal Horticultural Society. https://www.rhs.org.uk/about-the-rhs/publications/the-garden/the-garden-back-issues/2014-issues/February/compost-masterclass.pdf
14. “What Is Trench Composting: Learn About Creating Compost In A Pit.” Mary H. Dyer, Gardening Know How. https://www.gardeningknowhow.com/composting/basics/trench-composting.htm
15. “How Cities Compost Mountains of Food Waste.” Brian Clark Howard, National Geographic. https://www.nationalgeographic.com/culture/article/130618-food-waste-composting-nyc-san-francisco
16. “In Vessel Composting (IVC).” WRAP https://wrap.org.uk/resources/guide/vessel-composting-ivc
17. “Composting Techniques: How to Compost In-Situ.” Benedict Vanheems, GrowVeg. https://www.growveg.co.uk/guides/composting-techniques-how-to-compost-in-situ/